You are hereWhat's the Best Pot? Containers Explained
What's the Best Pot? Containers Explained
by Nebula Haze
Table of Contents
Which growing container works best for cannabis? What is it that makes some containers better than others?
The answers are contained in the roots of your cannabis plants. The idea behind choosing the right container is to pick one that is going to provide the best possible environment for your cannabis roots. Your roots are like the “heart” of your of your cannabis plant. They need to be healthy for your plant to get nutrients and grow.
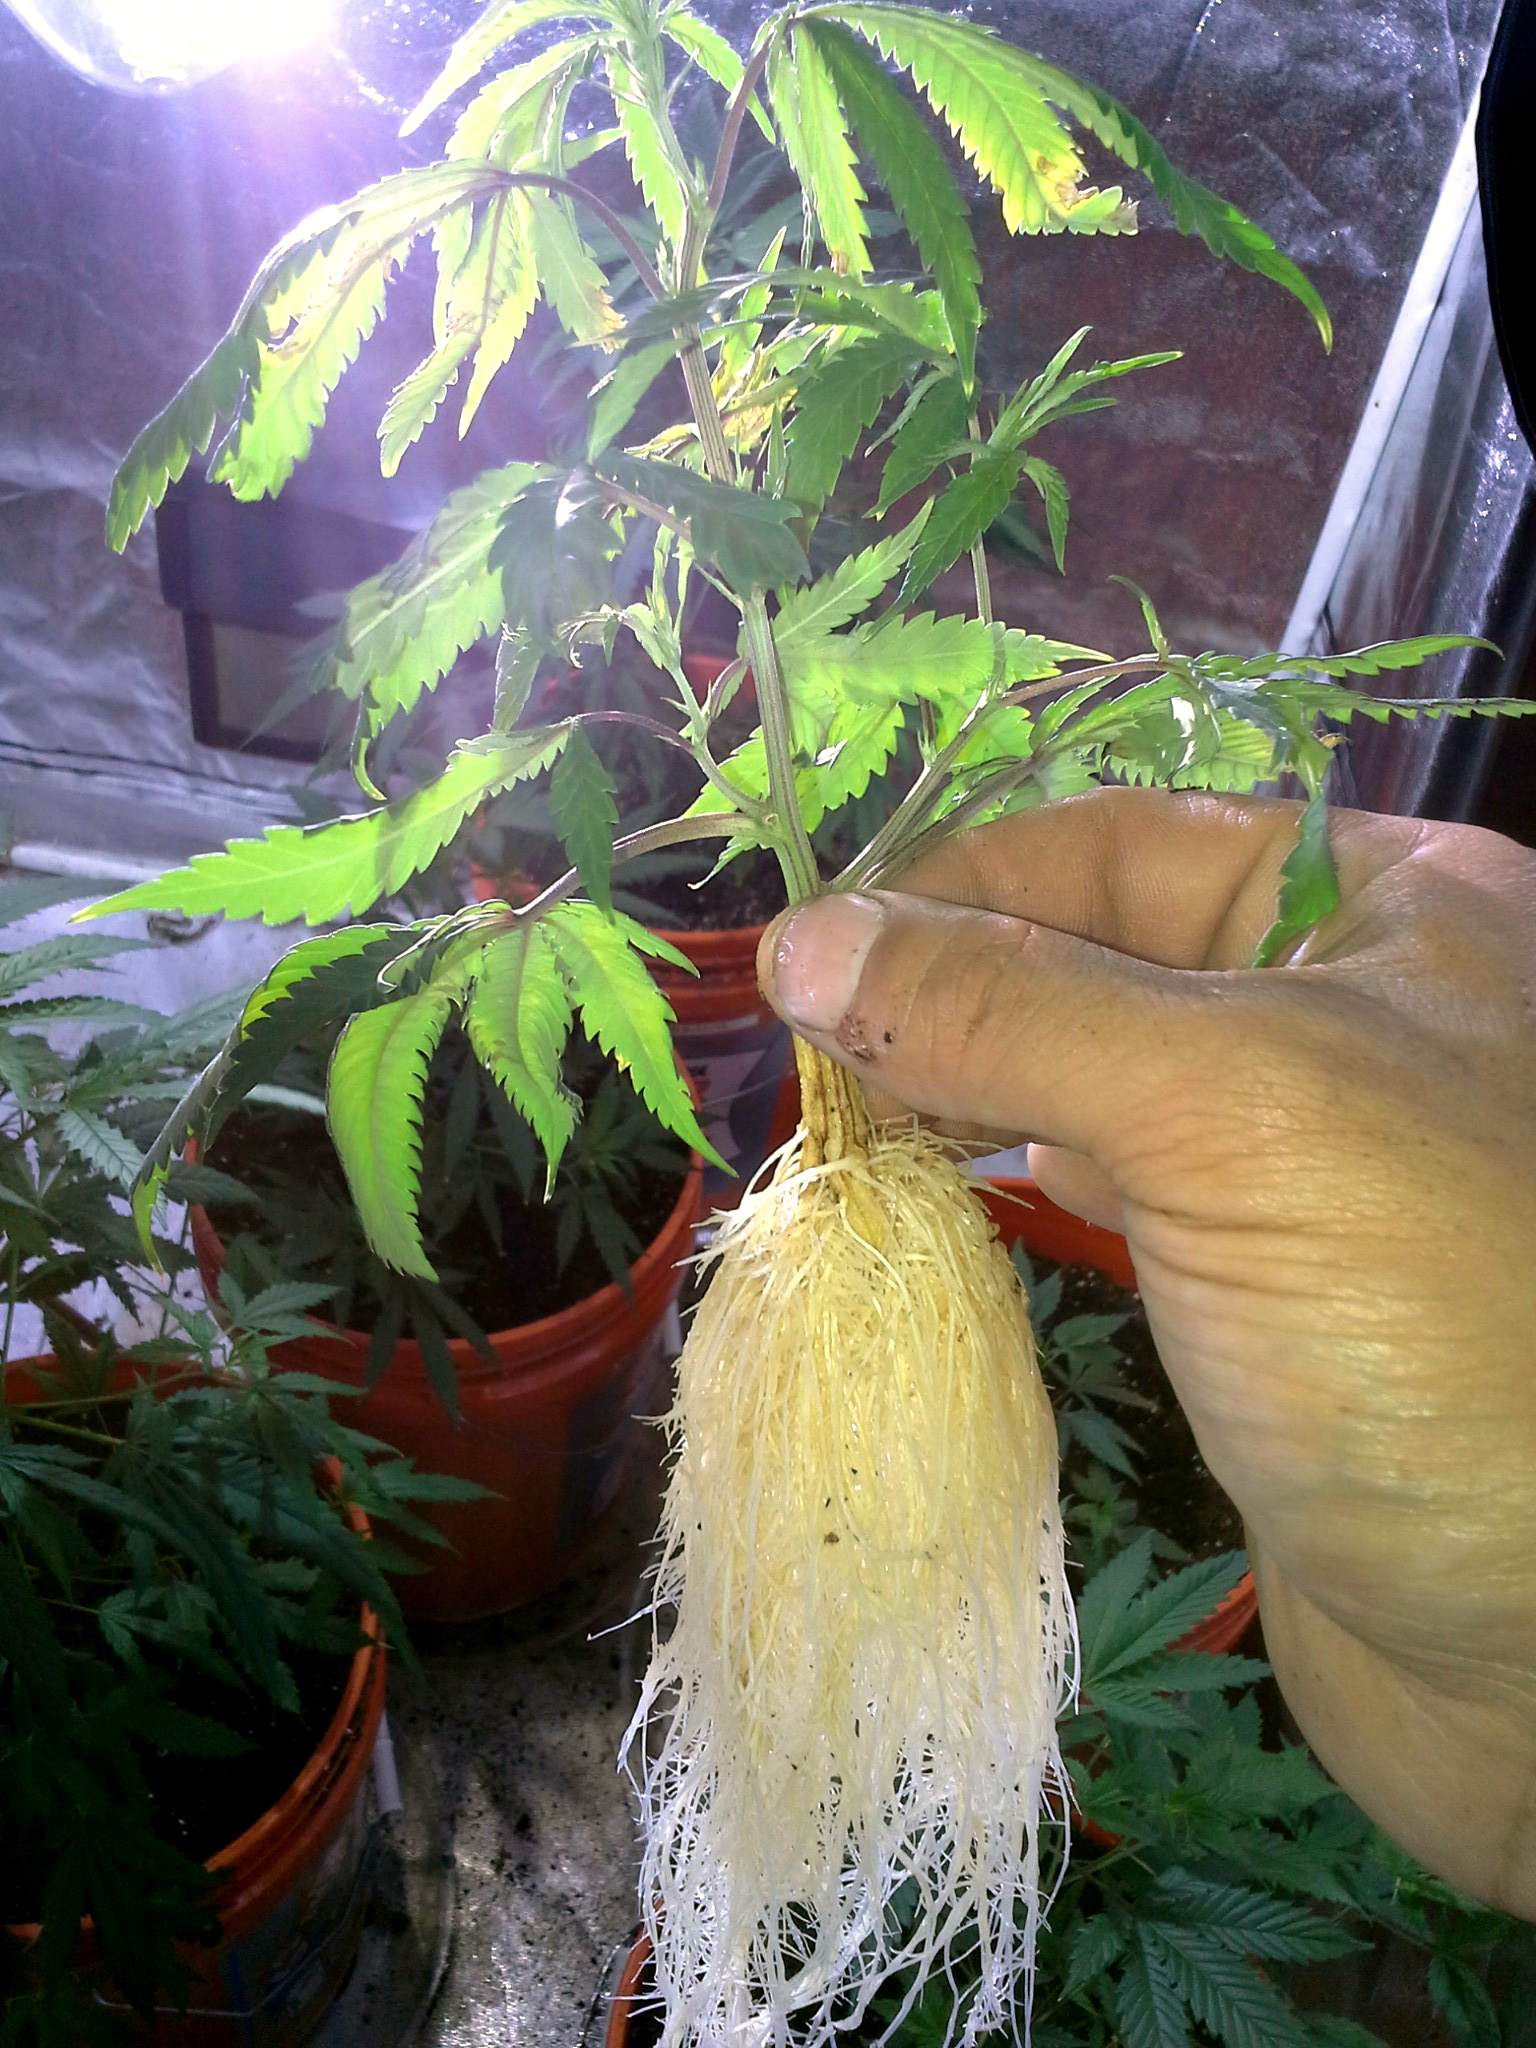
What do roots want?
Happy cannabis roots want...
-
Moist at all times - roots die when they dry out! Good watering practices combined with a great growing medium will make sure your roots never dry out
-
Oxygen - your roots “breathe” oxygen, so one of the best things you can do for them is make sure they always have access to plenty of oxygen - more oxygen to the roots = faster growth
-
Nutrients - your roots “find” nutrients at the roots, and then deliver them to the rest of the plant, so making sure your plant has easy access to nutrients will help your plants thrive and make buds
-
pH Management - Some nutrients are sensitive to the pH of their environment. When exposed to the wrong pH, the molecular form of these nutrients actually changes. Nutrients in the wrong chemical form become unavailable to your plant roots. Exposing nutrients to the correct pH reverts them back to a form your roots can take in.
More about pH...
Bottled Nutrients
 Managing pH is especially important when using bottled nutrients.
Using bottled nutrients gets the nutrients to your plant faster (which equals faster growth), but it also means you are in charge of managing the pH.
These systems deliver nutrients directly to the plant roots in their simplest form, but there is no "middle man" between you and the plant roots, leaving you in charge.
So if you're using bottle nutrients, make sure you manage your pH!
Learn how to check and manage pH for your cannabis grow

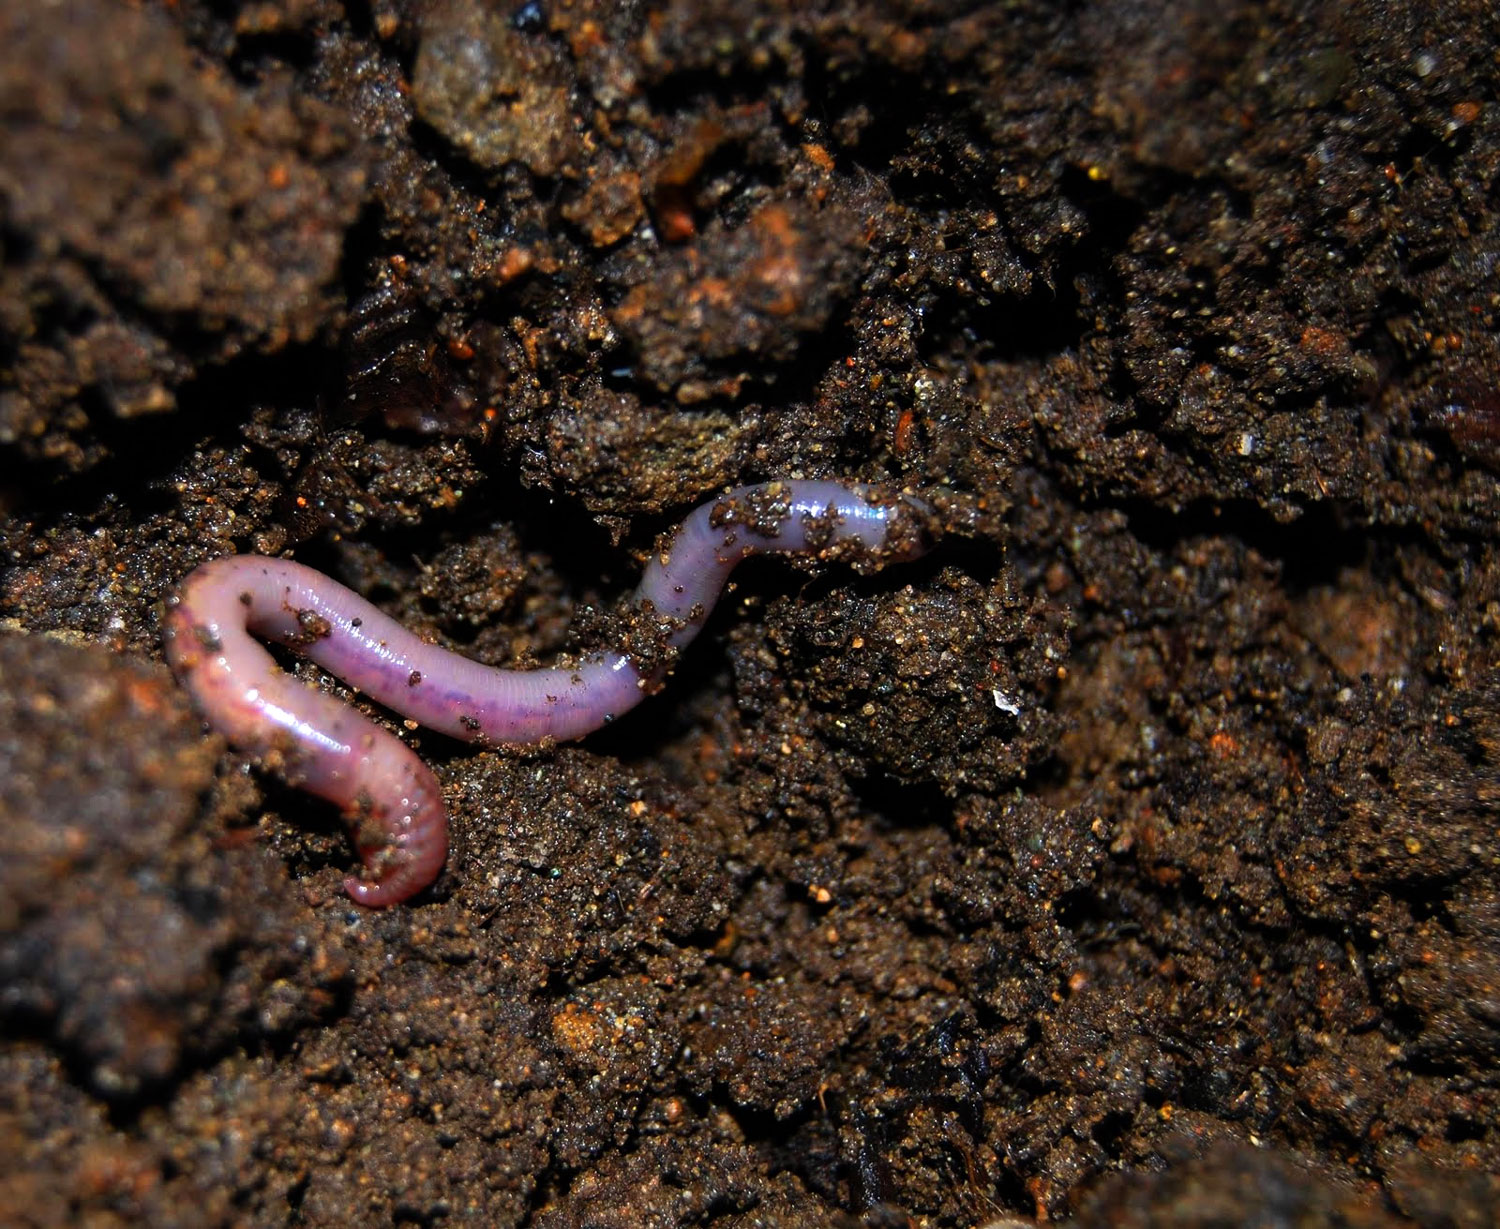
Amended & Composted Soil
When starting your cannabis grow with properly amended and composted soil, pH isn’t as important for you to manage. Instead of managing pH, you need to manage and care for the bacteria and microorganisms in the soil. In a proper composted soil setup, the microorganisms deliver nutrients to your roots in the right form. They become the “middle man.”
Learn how to amend and compost your own soil
There are many kinds of popular rowing containers for cannabis gardens...
-
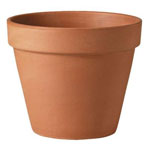
Standard plant container with saucer
-
Smart pots
-
Air pots
-
Hempy Buckets
-
Octopots
-
Hydro
Here's a breakdown of those different container options...
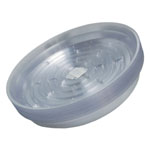
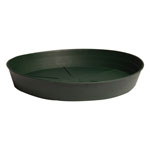
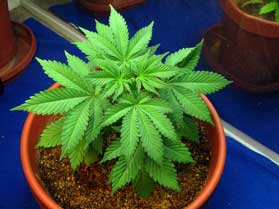
Standard plant container with saucer
This is a container with a hole at the bottom for drainage, plus a saucer to catch the water.
-
Tried and true method
-
Easy to find at any gardening store
-
Saucer captures runoff water for easy disposal


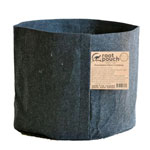
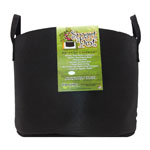
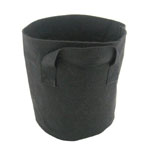
Smart pots (fabric containers)
-
More oxygen to the roots
-
Prevents plants from getting “root-bound” via "air-pruning from the sides
-
Since growing medium dries out from the sides, smart pots make it difficult to overwater your plants, but that also means you will end up watering more often
-
Need an extra large saucer or a tray to capture runoff water - smart pots don’t come with a saucer or tray and they seep out water from the sides
-
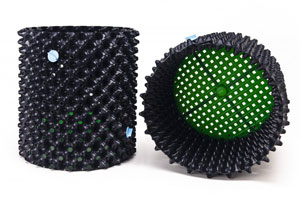
More oxygen to the roots
-
Helps prevent plants from getting “root-bound” via "air-pruning from the sides
-
Since growing medium dries out from the sides, air pots make it difficult to overwater your plants, but that also means you will end up watering more often
-
Although water seeps out the sides when watering, air pots are tall and thin so you can use a regular size saucer for each container
-
Like a regular plant container except instead of having drainage holes out the bottom, they are located near the bottom on the sides
-
This leaves a small pool of water in the bottom of the container after watering
-
Need to water less often with hempy buckets, which is a great advantage when growing larger plants that drink a lot
-
Can sometimes lead to root or nutrient problems since stagnant water can sit at the bottom of the container and any nutrient buildup never gets rinsed out

-
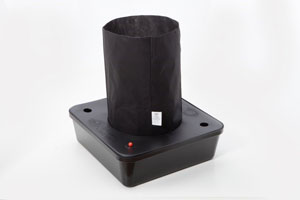
A little bit like an advanced hempy bucket, since plant roots are in a growing medium with a water reservoir at the bottom
-
No need to drain runoff water every time plants get watered since the large reservoir will catch it
-
Reduces the chances of plants becoming root bound, and they make transferring to a bigger reservoir very easy
-
They can be hooked up to a hydroponic gravity-fed reservoir with airstones. This means you are bubbling air through the water of each octopot, creating a hydroponic/DWC environment at the roots and allowing you to water all your plants from one place.
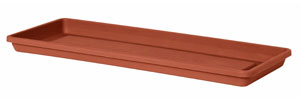
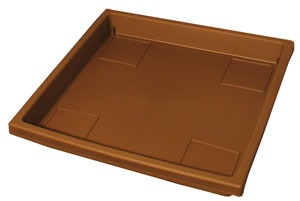
The two most popular ways of capturing runoff water in small containers are...
-
Individual saucers for each container
-
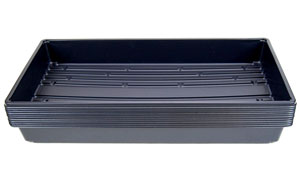
Trays to catch runoff from several containers
Most regular plant containers come with a matching saucer. These are placed under the plant and catch the runoff water for each individual plant.
When using a container that lets air in through the sides (such as a smart pot or air pot), you will need a larger than normal saucer to capture all the runoff water, since water will be seeping down the sides of the container.
One of the problems with saucers is you usually remove them from under the plants to empty the runoff water (always remove runoff - never let it sit so it’s seeped back up into the growing medium!). This is easy with just a few plants, but can become a problem when growing with a lot of plants in a small space. It can be difficult to get to the saucers in the back after the grow space has been filled up with plants.
If you're having trouble emptying out all your plant saucers, you may want to consider an alternative to regular saucers...
If you want to capture the water from a lot of plants in one space, I recommend using a tray set one a slight incline, so the part of the tray furthest away from you is raised slightly off the ground.. With even a tiny incline, the runoff water will pool at the front of the tray, and a wet vac can be used to capture all the water from the plants. This can be a lot easier than emptying saucers, depending on your setup.
As a bonus to using a tray, you won’t have to move your plants around as much, which results in better and faster growth. Plants don’t like being moved around if you can help it.
How to pick up the water from your tray?
- Wet/Dry vacuum
- Water transfer pump
I found the "Bucket Head" attachment at Home Depot which costs about $25 and can be attached to any standard bucket, turning it into an ultra-cheap wet/dry vacuum.
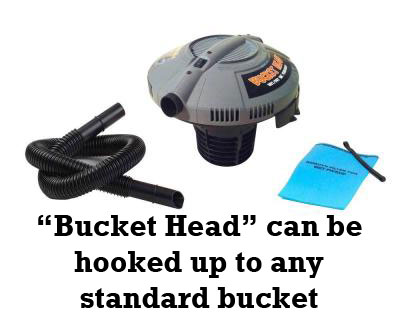
Learn more about Bucket Heads on the Home Depot website
Final Size Container for Desired Plant Size - General guide
When choosing the size of your containers, you must think about the final size of your plant. Bigger plants will need bigger containers, while smaller plants grow best in a relatively small container. You need to match the size of your plant with the size of your container.
A general guide is to have up to 2 gallons per 12" of height. This isn't perfect, since plants often grow differently, and some plants are short and wide instead of tall, but this is a good rule of thumb.
So if your final (desired) plant size is...
12" ~ 1-2 gallon container
24" ~ 2-4 gallon container
36" ~ 3-6 gallon container
48" ~ 4-8 gallon container
60" ~ 5-10 gallon container
Which size container should you start with? Start Small
 To
start, your plants will do best in a relatively small container. This
helps prevent the chances of overwatering (since the container is so
small) and since a small container dries out quickly, it will deliver
more oxygen to the roots.
To
start, your plants will do best in a relatively small container. This
helps prevent the chances of overwatering (since the container is so
small) and since a small container dries out quickly, it will deliver
more oxygen to the roots.
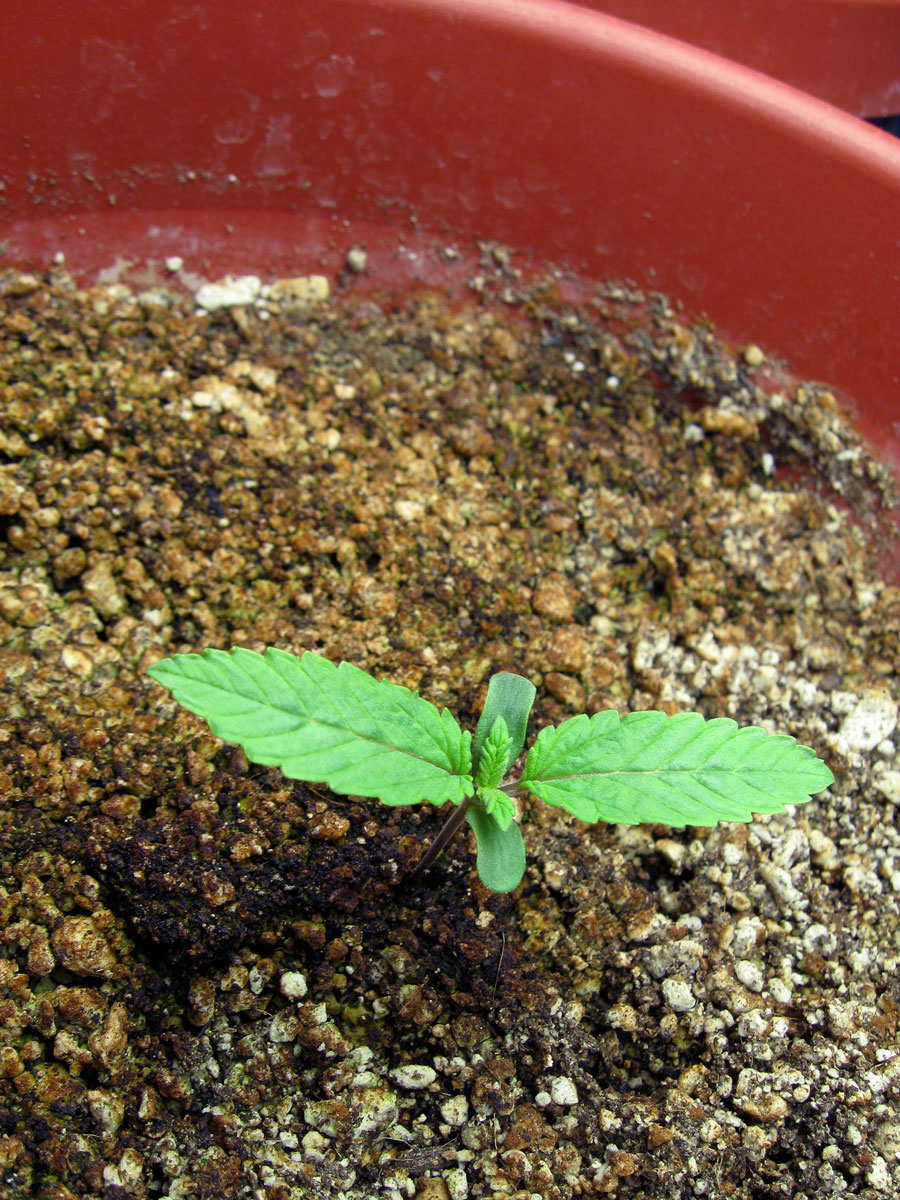
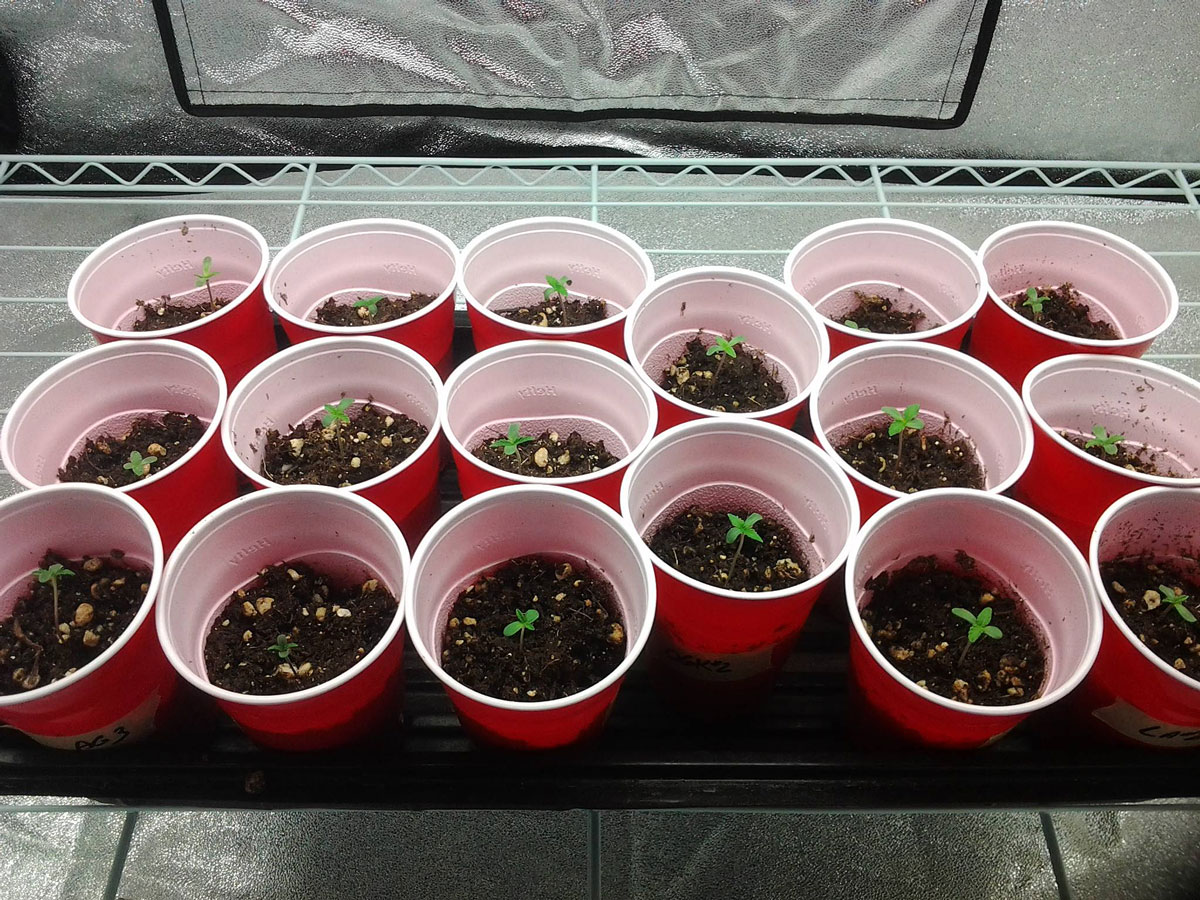
Many growers start their plants in a solo cup or a 1-gallon pot.
View quick animation on how to prepare a solo cup for seedlings (cutting drainage holes)
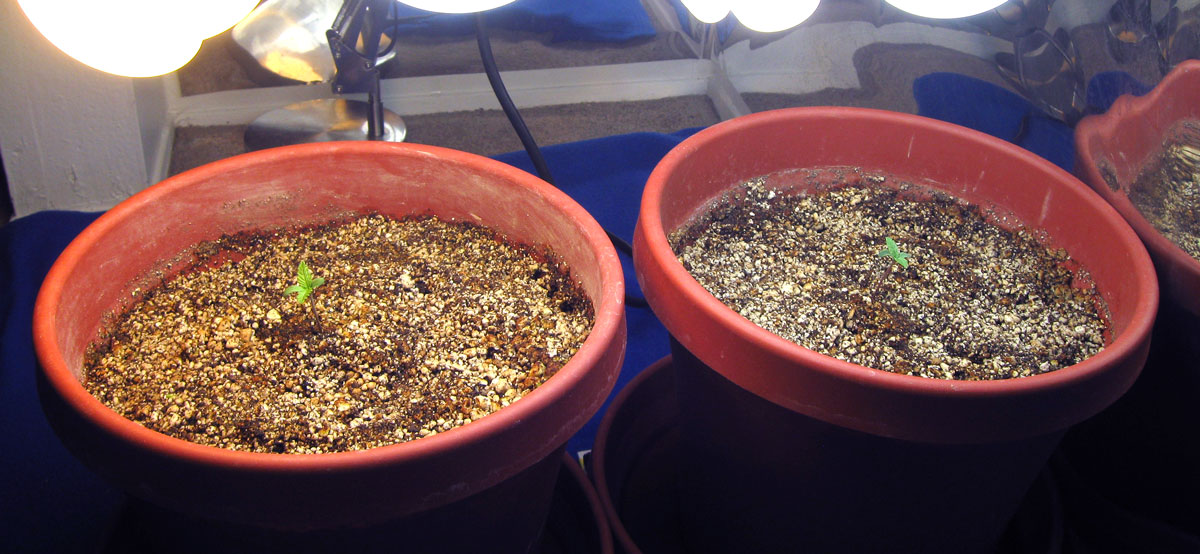
As mentioned earlier, some growers start their plants in
their final container, which is usually larger than a 1-gallon
pot. Starting in a big container isn't as simple as starting with a
small container, and can cause slower growth at first, but
here's you can take to get a seedling to grow quickly in a large
container.
How to water seedlings or clones in a too-big container
 When
starting seedlings in a big container (bigger than 2-gallon), it’s
important to slowly give just a little bit of water at a time until
your seedling "grows into" its pot. This prevents overwatering, which slows down seedling growth.
When
starting seedlings in a big container (bigger than 2-gallon), it’s
important to slowly give just a little bit of water at a time until
your seedling "grows into" its pot. This prevents overwatering, which slows down seedling growth.
By watering the right amount in the seedling stage, you can speed up growth significantly, especially during that first week or two.
For new seedlings you should give water in a small circle around the plant instead of saturating the whole container.
Don't give water again until the top inch of potting mix is dry to the touch (which should be less than a few days if you did your job right). This makes sure your seedlings get a perfect mix of air and water so it grows as fast as possible.
Make sure to give water slowly in a small circle around seedlings until you get runoff water out the bottom of the container. This makes sure that water is getting to your plant's roots but isn't over-saturating the container.
After plant has started to “grow into” it’s container, the top inch of potting mix will start drying out quickly (less than a few days). At this point, you can start normal cannabis watering practices which means you saturate the whole growing medium until you get about 20% runoff water
Summary
How to water seedlings or clones in a too-big container
Beginning Stage
This is for when you've just planted your cannabis seeds or clones in a too-big container. By giving your young plants less water at a time following the steps below, you prevent overwatering which can slow down seedling or clone growth in a too-big container.
- Pour water slowly in a small circle around the base of the seedling (I first pour my water into a solo cup so that it's easy to pour water around each plant).
- The circle should be ~2 inches in every direction from the base of your seedling (or if your seedlings are bigger, about the width of the leaves).
- Every time, make sure to continue watering slowly in a circle until you get runoff water out the bottom of the container. Make sure to remove runoff water so it doesn't get re-absorbed through the bottom of the container.
- Don't water again until the top inch (up to your first knuckle) is starting to feel dry to the touch.
Regular Watering Stage
Once your plants have established healthy root systems that can support the size of your container, you can start watering as normal.
- Once the top of the growing medium is drying out quickly, in less than than 2-3 days, you're past the beginning stage.
- Switch to normal watering practices. This means that you are watering the entire container until you get 20% runoff every time. Then don't water again until the top inch (up to your first knuckle) is starting to feel dry to the touch.
Important: Always wait until the top inch (up
to your first knuckle) is starting to feel dry to the touch before
watering your plant again. This prevents both overwatering and fungus
gnats :)
Transplanting for faster growth
Transplanting means that you start your plants in a relatively small container, and then transplant the plants as needed so that their roots never run out of room.
Transplanting will provide your plants with faster growth if done right. This is because transplanting allows you to set up an environment where your roots are getting access to plenty of water and air. However, transplanting can stress your plants (and slow down growth) if not done properly. When transplanting, it's important to carefully move plants so that their roots are not disrupted in any way. This means moving plants before they get root-bound, and creating a hole in the potting mix of their new container so the plants can be placed right in without disturbing the roots.
If you plan on starting your plants in a small solo cup and transplanting your plants to bigger containers as needed, take a look at this transplanting guide.
While transplanting makes it easier to give your young plants access to plenty of water and air, it can stress the plants if not done right, and it can also be too much work for some growers. So many growers start their plant in it's final container.
When seedlings or clones are started in a large container, it can be difficult to get enough air to the roots until the plant is bigger and drinking a lot. Thisis because when the potting mix gets soaked, the seedling roots just won't be able to drink it fast enough, and the roots will end up sitting in stagnant water with very little acces to oxygen. The growing medium has to dry out on it's own, which can take a while, and your plant will be droopy and overwatered until the roots start getting access to air again.
Some growers start their seedlings or clones in a bigger pot, or even the final container they plan to use. While this can slow down growth of young seedlings, you can minimize this effect by watering young plants correctly when they’re started in a too-big container.
Here’s a very quick breakdown of some of the most common cannabis growing mediums for a hand-watered grow. This is not a comprehensive list, but should give you a place to start your research. Each of these different growing mediums have pros and cons.
-
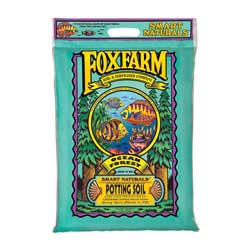
Store-Bought Soil
-
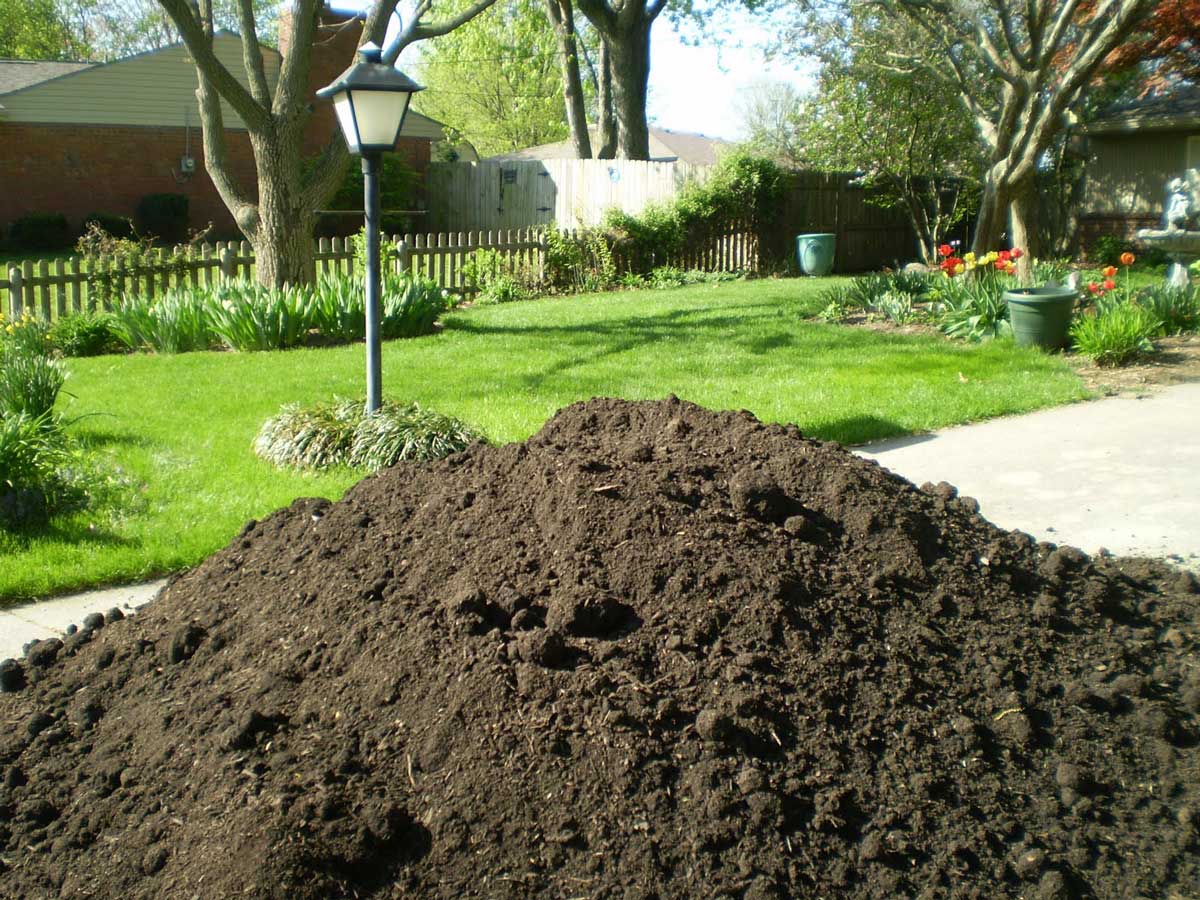
Composted Soil
-
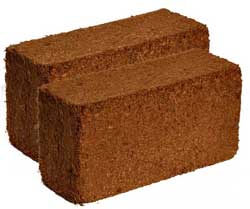
Soilless (coco coir, perlite, vermiculite, etc)
-
Easy to find at any gardening store
-
You can start with nutrient-rich soil and transplant several times throughout the grow to give your plant what it needs after it’s used up all the nutrients in the soil in it’s current container. If you choose not to continue transplanting to give cannabis more nutrients, you will need to use cannabis nutrients to make sure plants are getting what they need
-
You will need to manage and adjust pH for a soil grow, especially if using bottled cannabis nutrients
Composted Soil - learn about composting your own soil
-
You will need to amend and compost your soil to use this method, which can take a lot of time, or buy amended and composted soil from a quality source
-
When done right, there’s no need for bottled nutrients or adjusting pH
-
Many growers claim that composted organic soil provides the best bud taste and smell
Soilless Potting Mix - (coco coir, perlite, vermiculite, etc)
-
Faster growth than growing in soil
-
Starting at the seedling stage, you will need to use cannabis nutrients made for hydro, since soilless mediums do not come with nutrients
-
Managing and adjusting pH is crucial to success in a soilless growing medium
-
Less likely to get pests or bugs
Tutorial - how to grow cannabis with coco coir
Jump to...
10-Step Quick Start Guide to Growing